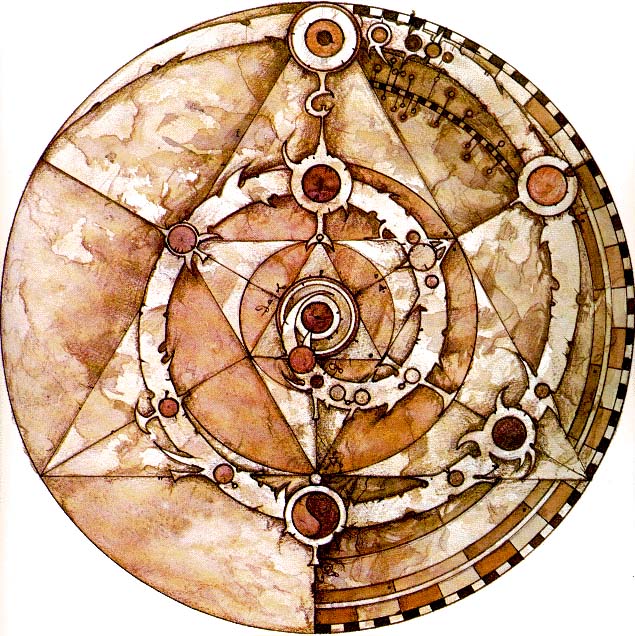


Sand painting is practiced in many cultures, usually for religious and healing purposes. Some of the more well known sand paintings are Navajo or Tibetan (where they are called mandalas). Sand paintings can include many colors and complex patterns. When the ceremony was done the sand was left to be carried away by wind or time.
Here's how to make sand pictures that will be simple and long lasting, as well as a lot fun to make! All you need is colored sand and glue to do this fun craft project with your child.
- Assortment of colored sand – can also use some cornmeal
- White school glue
- Warm water
- Paintbrush
- Paper – works best with an off white colored paper so you can see the glue easier.
- Newspaper
- Plastic bowl
- Craft stick
- Spread newspapers down on your workspace. This will help catch the sand and make clean up easier.
- Take a small amount of warm water and add it to some glue in your bowl, to thin it down a little bit. You don't want it like water, but thin enough to be able to spread with a paint brush. Use a craft stick to stir it.
- Next have your child paint a pattern or picture with the glue.
- Now gently trickle different colors of sand on the picture where they want the colors to go. Don't worry if all the sand doesn't stick.
- After all the picture has been covered, let your artwork dry.
- Gently turn your picture over and let the unused sand fall off onto the newspaper. Then have mom or dad clean up the newspaper. Your picture is ready for display.
Did You Know?
- In Tibet the mandalas (sand paintings) would take days to make. When they were finished the mandalas would be destroyed to show that life was not permanent.
- On Dia de los Muertos (Day of the Dead) sand paintings are still drawn today. Seattle is famous for them. They are soon swept away to illustrate the fleeting nature of life.

No comments:
Post a Comment